Education
Domain SKilling
Creating an effective and efficient skill development ecosystem in the state of Bihar through: Scaling up: ...
Learn More →Join our mission to create lasting impact in communities around the world through education, healthcare, and sustainable development.
What We Do
Discover the meaningful work we're doing across communities worldwide.
Education
Creating an effective and efficient skill development ecosystem in the state of Bihar through: Scaling up: ...
Learn More →
Education
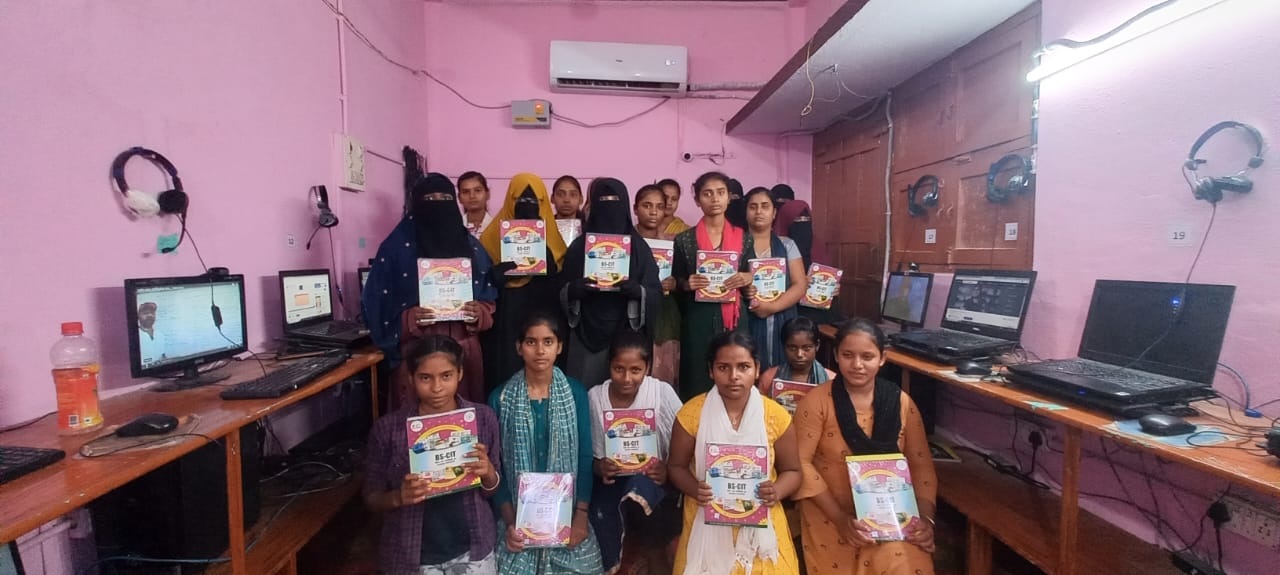
Kushal Yuva Program (KYP) - Bihar Skill Development Mission (BSDM) Program Objective:Enhance employability sk...
Learn More →Our People
Verified members and staff driving change every day.
 ✓
✓
Receptionist
EMP-20260003 ✓
✓
LF
EMP-20260004
✓
Receptionist
EMP-20260005
✓
HR
EMP-20260006Join thousands of volunteers and donors who are changing lives every day.
Participate in exciting competitions and showcase your talent!